General
Once you followed the steps to log into your 3CX Webclient you are ready to install the 3CX .
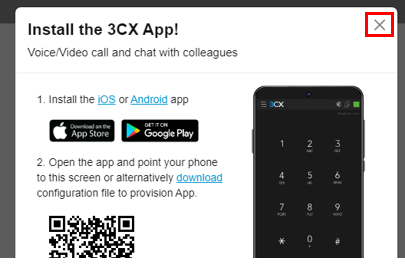
After you logged into the Webclient for the first time, a Pop-up window appears, showing a QR code to connect the Mobile app. You can install the mobile App on your mobile phone and scan the QR code, or click the window away, using the X top right.
Installing the Desktop App
Finding the Apps
Once you are inside the Webclient, head to the bottom left on the Side Pane and choose 'Apps'.
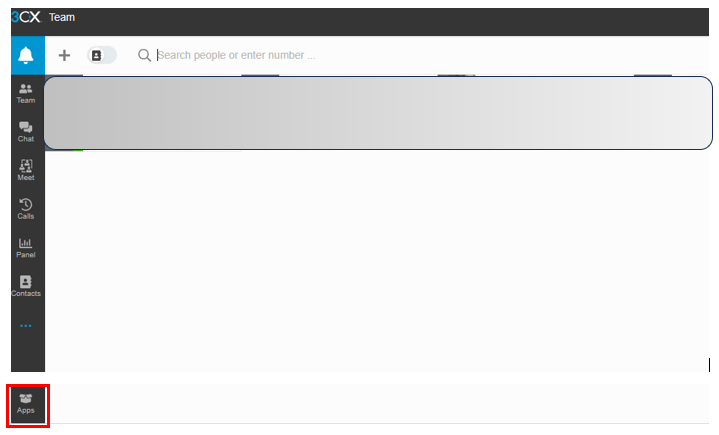
This will lead you to the 'Apps' section, from where you can download the 'Desktop App'.
Click on 'DesktopApp' to download the 3CX Desktop App.

After you clicked on the 'Desktop App' a Pop-Up opens, asking you if you want to:
- 'Download & install'
- 'Provision to connect app'
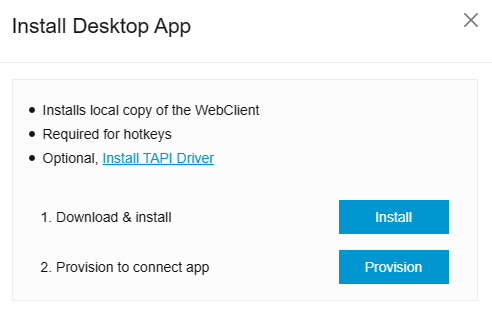
If you have the app installed already, scroll down to '2. Provision to connect app'
1. Download & install
if you don't have the app installed yet, continue by choosing 'Install':
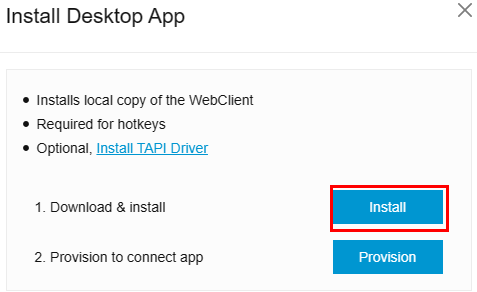
After choosing 'Install', the app is being downloaded into your default download folder (Windows Default is 'Downloads')
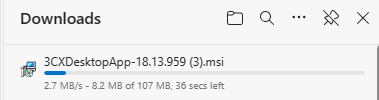
Once the Download has finished, head to your Download folder and look for the downloaded file, this usually is at the top of the list in the folder if default settings are in use:

Once you found the file, double-click on it to execute the setup.
Optional:
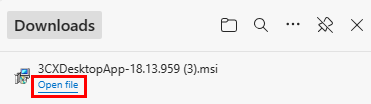
Optionally the file can also be executed with a single click on 'Open File' from withing the Browser:
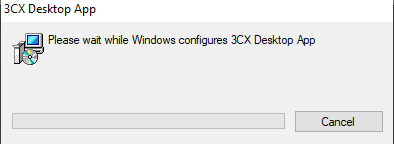
Once the setup has started a small window will be seen:
Once the setup has finished the unprovisioned App-Window will open:

2. Provision to connect app
If you left the Webclient as was when the download started, the Pop-Up window should still be there.
If not, head again into the Webclient - Apps and click on Desktop App, to bring the Pop-Up window back.
Once you can see the Pop-Up window again, choose 'Provision':

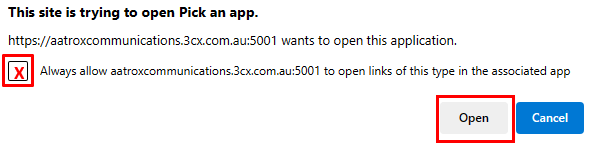
After you click on 'Provision', a new Window appears, stating: 'This site is trying to open Pick an app'.
Confirm the Tick-Box 'Always allow ........ to open .....' and then click on 'Open':
The App window then shows your Team. You can now use the 3CX Desktop App to see your Team, Contacts, receive Calls, establish calls, ....
Also log out of the Webclient, by going Top right:

then choose 'Logout':

This won't affect the Status of the Desktop App, but will ensure you're not logged into the Webclient and have the Ringtone of 2 Applications in your Headset.
Integrate your Headset
In order to use the full functionality to use the App, it is recommended to integrate your Headset.
The 3CX Apps support the following Headsets:
- Yealink
- Jabra
- Plantronics
- Every Headset that Supports WebHID
To integrate your Headset ensure it is plugged in to your computer and set as System Default Audio device.
On your computer click on the Windows Icon (Windows 10, bottom left):

click on the Cogwheel:

Inside the Windows Dettings choose 'Devices':

On the Devices Window choose 'Sound settings' on the right side:

On the Sound Settings page ensure your Headset is the chosen Output and Input device:

Once this is confirmed, close the Settings by clicking the X top right and head back to the Desktop App.
In the Desktop App click on the 3 Dots in the left pane and choose 'Settings':

Inside the Settings, choose Audio/Video from the Drop-Down list top right:

Inside there you should now see under:
Ringer: Default - Your Headset
Speaker: Default - Your Headset
Microphone: Default - Your Headset

Now we can integrate the Headset. Further down under Headset integration choose the Headset brand you use.
If the brand is not listed, choose 'Universal Headset Driver'.
(If you are going to use a Headset that is not from Jabra, Yealink or Plantronics, please ensure that it supports WebHID, in order to avoid audio issues)
In our example we will use a Jabra Headset. The first moment after the Headset is chosen a red field appears under the dropdown list, stating no Headset available.
This will change very soon to Green, lining out your Headset:

The Headset is now integrated and you are ready to use the App.
Was this article helpful?
That’s Great!
Thank you for your feedback
Sorry! We couldn't be helpful
Thank you for your feedback
Feedback sent
We appreciate your effort and will try to fix the article